Summary: In this Article, you’ll get to read about —
No matter whether you use it at work for professional communication or at home for personal correspondence, Microsoft Outlook, that comes attached with several distinct benefits to manage email more efficiently —is no-brainer the most widely used email client applications across the world.
However, despite an excellent application, there are ‘n’ numbers of issues related to Outlook that users encounter every now and then! That said, let us ask you—
‘Is your Outlook opening/ working on your Windows 10 PC?’
To this question….many would say ‘No’ and if you’re also one of them who are encountering ‘Outlook Not Opening/Working’ issue in Windows 10 then, fortunately you’ve landed on the right place.
The potential reasons behind the occurrence of Outlook not getting opened in Windows 10 ranges from corrupt Outlook Profile, outdated Office Program, faulty Outlook Add-ins, and outdated Windows O.S., to problems in the Navigation Pane, corrupt System Files, and incorrect Account Settings, etc.
Therefore, considering all of them in mind, here we’ve discussed a couple of solutions that you should definitely try your hands on to get rid of this particular issue of Outlook and get things back to normal as before!
Re-register Outlook Client
- First of all, press the ‘Windows Logo + R’ keys together on your keyboard.
- In the ‘Windows Run Dialog’ box that opens, type “Control Panel” and hit the ‘Enter’ button to access the Control Panel window.

- There, look at the right-hand side and simply click on the drop-down arrow beside the ‘View by’ option.
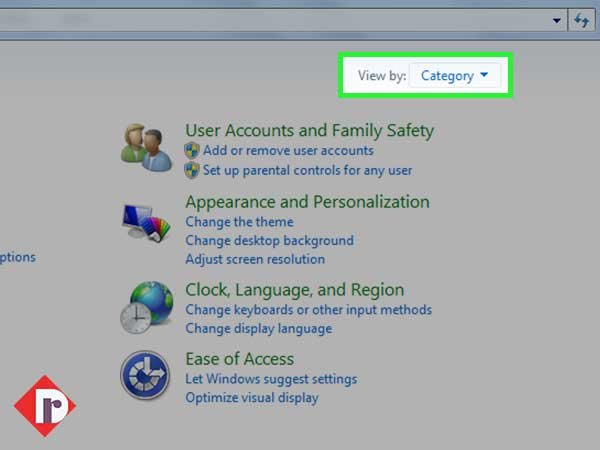
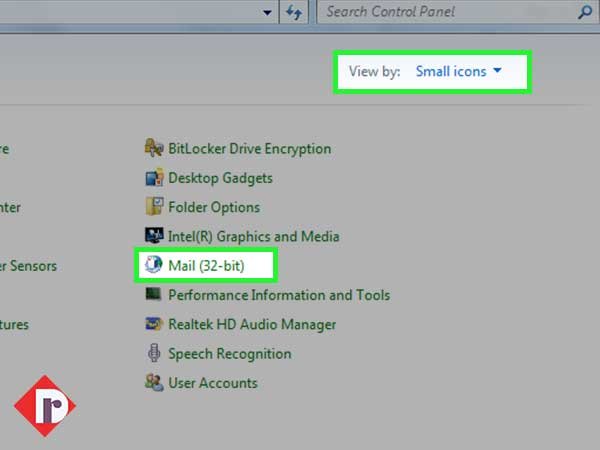
- From the menu, you’ve to select the ‘Small Icons’ option.
- After that, scroll down and click on the “Mail (Microsoft Outlook 2016) (32-bit)” option to open the existing Email setup window.
- Once the Mail Setup window appears, click on ‘Show Profiles’ option to select your “Outlook” profile.

- Upon doing so, click on ‘Remove’ to simply delete the selected Outlook account from your Windows 10 computer.
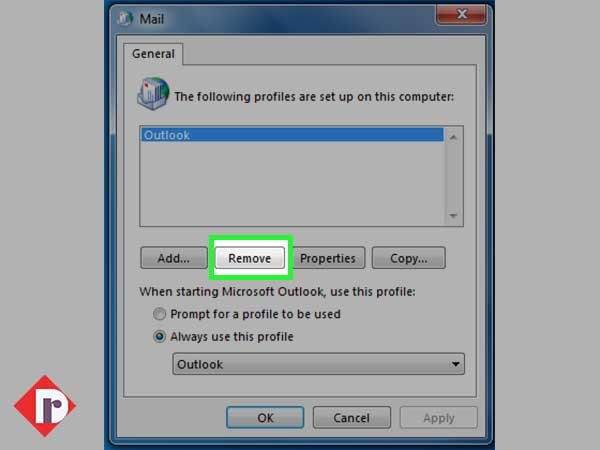
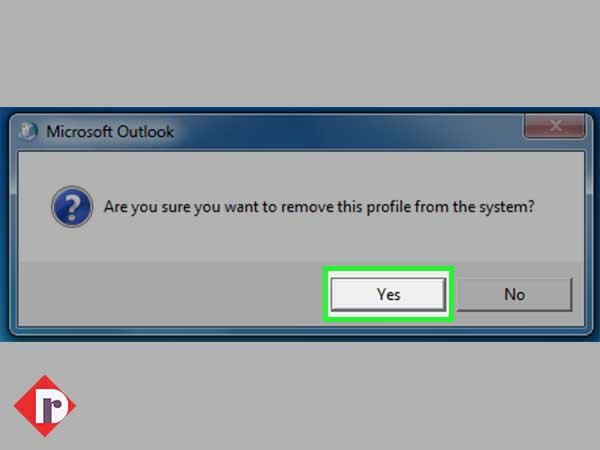
- In addition to doing so, you’ve to click on ‘Yes’ as confirmation to remove your profile.
- Now, close the ‘Mail’ window and in order to re-register Outlook client, open “Outlook” on your Windows 10 computer.
- Once the Outlook window appears, you’ll be asked for your login credentials so, simply enter your respective email address in the desired text-fields.
- Upon entering the login details, click on ‘Connect’ to finally set up your email address profile again.

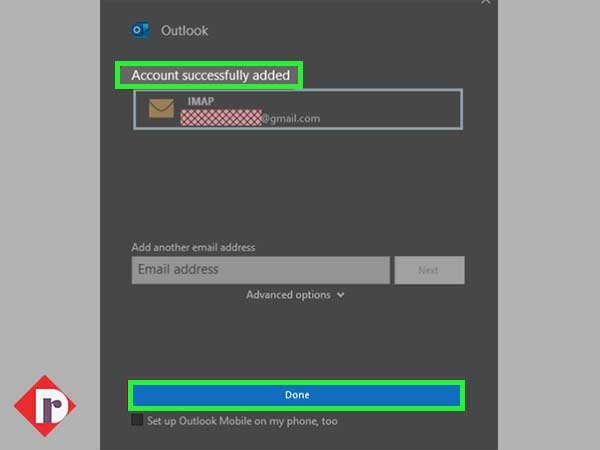
- In doing so, you’ll receive an “Account successfully added” message on your computer screen and following that, you just have to click on ‘Done.’
Now, the Outlook window will open where all the emails of your respective account will start to sync. So, this is one of the ways you can try to make your Outlook perform normally.
Run/Open Outlook in Safe Window Mode & Disable Add-ins
Although, by installing add-ins in Microsoft Outlook, you can ensure to integrate it with extra functionalities or features that were not available by default but, you never know when the installed add-ins become a big fuss. So, it is advisable to run the Outlook application in Safe mode. Wondering why? Well because, this way you can check which add-in is the culprit and needs to be disabled.
That said, you can first open Outlook in Safe window mode via—
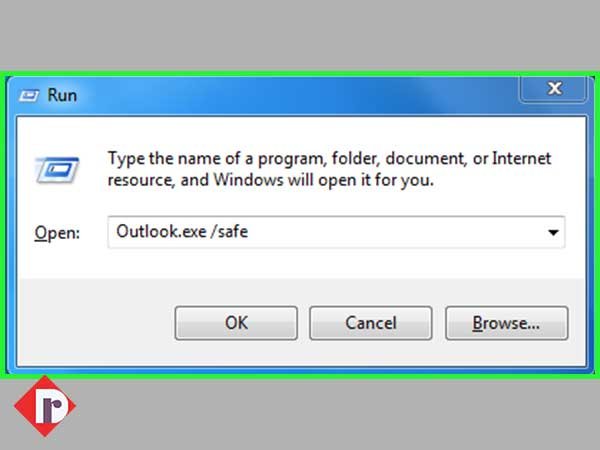
- Press ‘Win + R’ keys together.
- Inside Run wizard box, copy-paste this “Outlook.exe/safe mode” code and hit ‘Enter.’
In doing so, your Outlook application appears in Safe mode and now, you can check there, if it is opening/ functioning properly or not.
Following that, (if required) you can execute the below-mentioned steps to disable the installed Add-ins from the Microsoft Outlook.
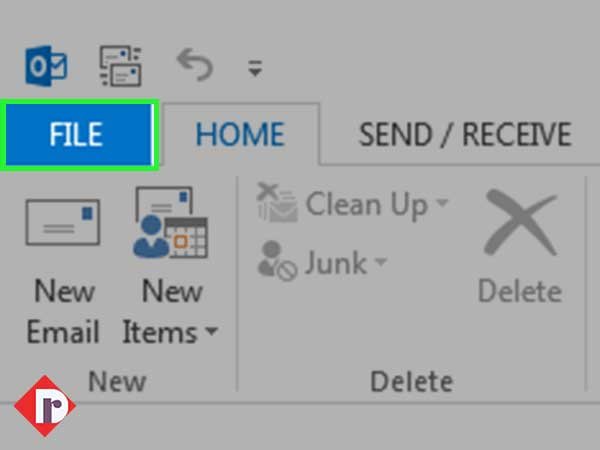
- Go to Outlook’s ‘File’ menu.
- From it, click on ‘Options.’

- Then, select the ‘Add-ins’ option.

- After doing so, set the ‘Manage’ to “COM Add-ins” option.
- Once you’ve done that, click on the ‘Go’ button. In doing so, you’ll be able to see all the available ‘Add-ins’ on your screen.

- Now, check out the list of all the ‘Add-ins’ that you’ve installed in your Outlook application to “Uncheck” the suspicious one or you can simply select every box in that section.
- Upon doing so, just click on the ‘OK’ button and close the Outlook opened in safe mode.

Now, re-launch the Outlook client in normal mode to check whether doing so helps you fix the encountered issue or not.
Use the Repair Tool – Run ScanPST
Next, you can also try to fix the ‘Outlook not opening/ working in Windows 10’ problem using the ‘Run ScanPST’ repair tool. So, let’s look at the steps for the same—
- Press ‘Windows Logo + E’ keys together on your keyboard.
- Then, navigate to this location – “C:\Program Files (x86)\Microsoft Office\root\Office16”
- Once you reach there, look for the ‘SCANPST’ executable file inside the directory and double-click on it to run this tool on your Windows 10 O.S.

- Following that, click on ‘Browse’ inside the Microsoft Outlook Inbox Repair Tool screen.

- In doing so, you will be able to locate the “Outlook Files” folder in the ‘Documents’ folder.
- From the Outlook files that appeared, you’ve to find the PST File that is associated with your respective account. Once you’ll find it, select the same and click on ‘Open.’

- In the end, just click on ‘Start’ to finally start the scanning process that most probably fixes the corrupted PST file in your inbox –which is causing Outlook to not work properly on your machine.
However, it is worth noting that, if you’re using Microsoft Exchange then, you’ve to enact these following steps –
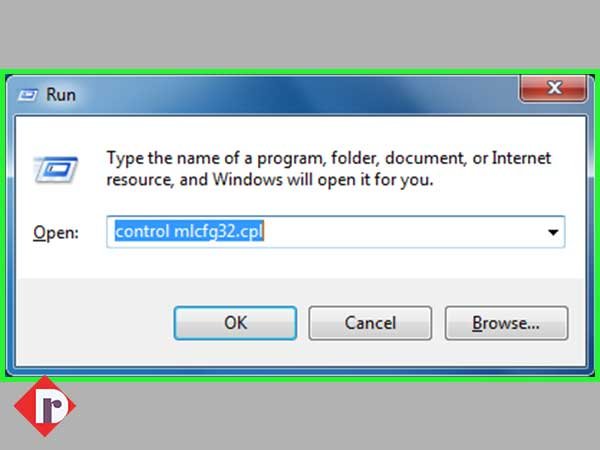
- Press the ‘Windows key + R’ to open Run wizard.
- In that, type “control mlcfg32.cpl” code and click on ‘OK.’
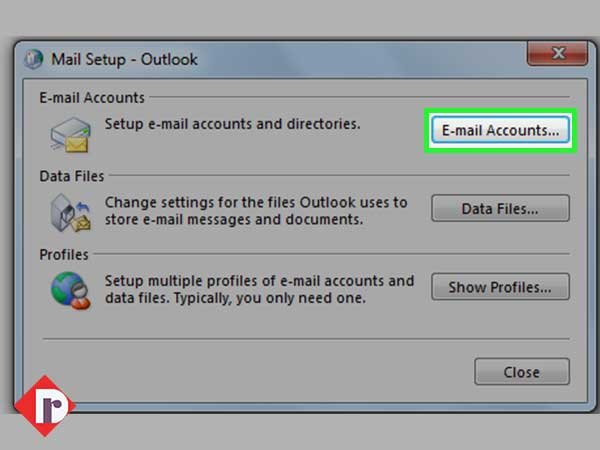
- As you do so, the ‘Mail setup’ opens up in front of you. From there, click on the ‘Email Accounts’ option.
- Following that, go to the ‘Data Files’ tab and simply select your “Exchange account.”
- Once done with the selection, click on the ‘Open File Locations’ option.
- There on the file location window that opens up, you will notice the Outlook Data File.
- Right-click on the file and click on “Delete” to delete the file from your system.
Once done, close the Email Setup window and launch the Outlook client again to check whether this particular solution works in your favor or not.
Run Resetnavpane Command
Albeit, resetnavpane command resets and removes all the customizations related to the navigation pane but at times, it also helps in fixing the ‘Outlook not opening/working’ issue.
So, considering that, here’s how you can also run resetnavpane command—
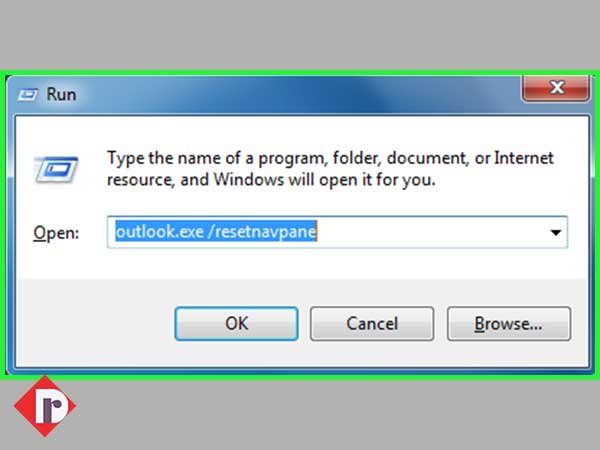
- Firstly, you’ve to open the RUN window via pressing the ‘Windows Logo + R’ keys together.
- Then, type “outlook.exe /resetnavpane” command inside that RUN window.
- After that, just hit the ‘OK’ button.
This way, when you execute the resetnavpane command, it starts doing what it is supposed to do! To be precise, it modifies customizations related to the navigation pane and can also fix your ‘Outlook won’t work/open’ issue.
Close Outlook in Other Way
Whether you believe it or not, there are some users who’ve reported that if you close Outlook in the wrong ways then, this can also lead to ‘Outlook not opening’ issue.
So, considering these suggestions, make sure to not close your Outlook application using either ‘X’ button located at the top or ‘Alt+F4’ keys together.
Instead, whenever you want to close the Outlook application, use this way—
- Click on “File Tab” on the menu bar.
- And, hit the “Exit” button.

Closing the Outlook application window in this way on your Windows 10 computer will probably solve the problem that you’re experiencing currently.
Solution 6: Delete Outlook App Data Folder
It has been noticed that, in some case scenarios, the ‘Outlook not opening issue’ gets resolved after deleting the Outlook App Data folder. So, you too can consider this workaround to make your Outlook functioning again.
That said, have a look at the steps of deleting Outlook App Data folder—
- Press ‘Win + R’ keys together and launch the RUN window.
- Inside it, type “%localappdata%” followed by clicking the ‘OK’ button.

- In doing so, Windows 10 App Data folder will appear on the screen. On the same folder, all you’ve to do is locate the folder with the “Microsoft” name.
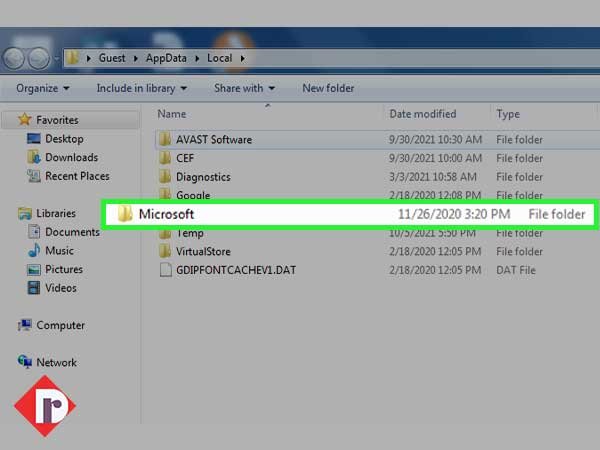
- Once you’ve done that, simply search for the Outlook folder and click on ‘Delete’ option of the same.

After deleting the Outlook folder, first ‘Restart’ your Windows 10 O.S. and then, launch the Outlook application to check if the ‘Outlook not opening/working’ error has now been resolved or not.
Disable Compatibility Mode for Outlook
If in the recent past you’ve upgraded to Windows 10—the latest version of Microsoft Windows then, it is suggested that you should disable the ‘Compatibility mode.’ It’s because Outlook by-default is designed and optimized to run on Microsoft Windows 10 that too, without any problem.
By this, what we are simply trying to say is that you need to check whether the compatibility mode for Outlook is turned on or not. If it is turned on then, you’ve to disable it with the help of these given steps—
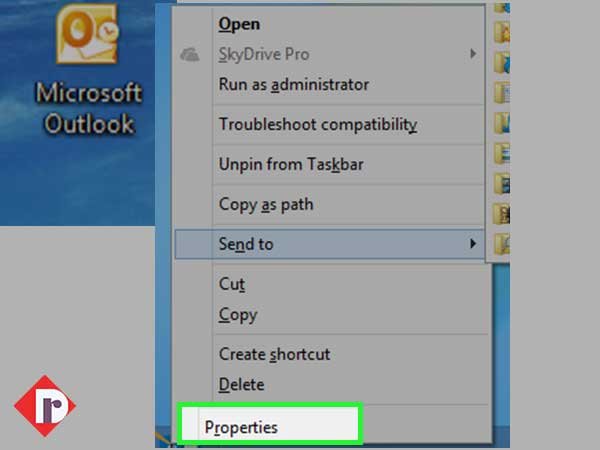
- To disable compatibility mode, right-click on your Outlook’s desktop icon.
- Then, select the ‘Properties’ option from the contextual menu that appears.
- Now, your respective Outlook version’s properties panel will open in front of you. In that, switch to the ‘Compatibility’ tab.
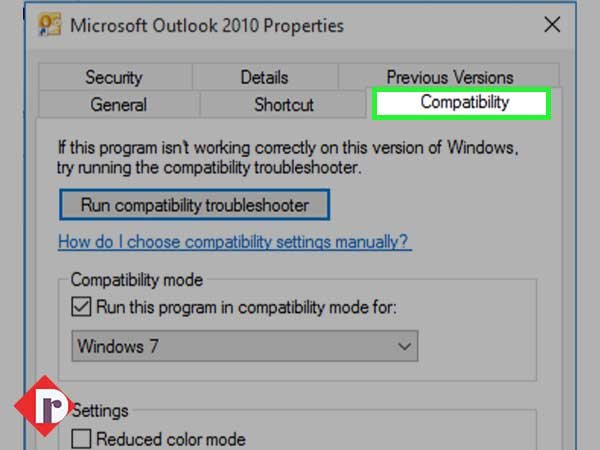
- Inside it, what simply you’ve to do is uncheck the “Run this program in compatibility mode for” option.
- Once you’ve done that, click on ‘Apply’ followed by clicking on ‘OK.’

Now, launch your Outlook application again to check whether the issue still prevails or not. If so, move on to try the other solutions listed below.
Delete the Registry Key
Another way to fix the encountered issue is to remove a specific registry key from your Windows 10 system, and you can do so via this following these steps—
- Press both the ‘Windows key’ and the ‘R’ key together.
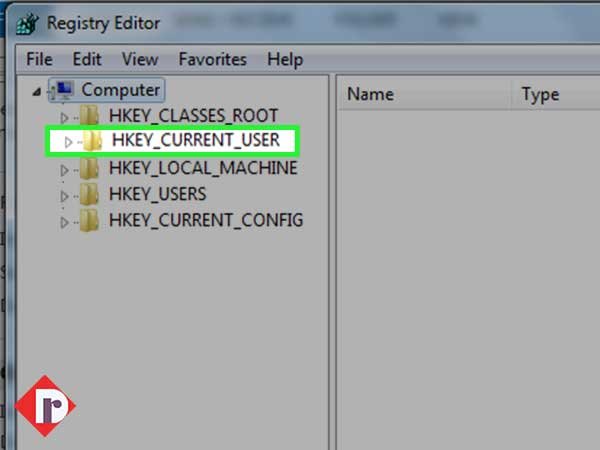
- Then, type “regedit” and hit the ‘OK’ button inside the RUN utility box that opens.

- In doing so, the ‘Registry Editor’ will open in front of you and once the same opens up, you’ll need to navigate this location: “HKEY_CURRENT_USER\Software\Microsoft\Windows NT\CurrentVersion\Windows Messaging Subsystem.”
- There, you’ve to simply right-click on the ‘Profiles’ option to select ‘Delete’ from the contextual menu that appears.
- Once you finish doing this, close the Registry Editor window and quickly ‘Restart’ your Windows 10 system to check whether Outlook now works fine or not.
Run SFC Scannow Command
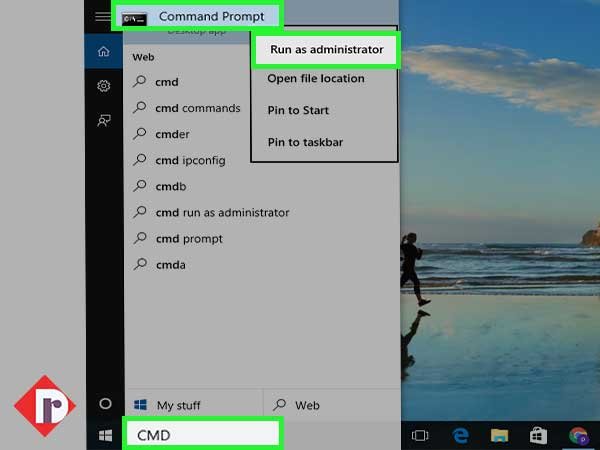
- Begin by pressing the ‘Windows Logo’ key to open Windows Quick Search.
- Then, type “cmd” in it and once the search result appears, click-right on the same to run the Command Prompt app as Administrator.
- Inside the Command prompt, enter this cmd command “sfc / scannow” and hit ‘Enter’ to run it.

- In doing so, SFC scan will commence.
Alternatively, you can also launch a DISM scan and to do so, paste this “DISM.exe /Online /Cleanup-image /Restorehealth” command in the terminal and simply hit ‘Enter.’
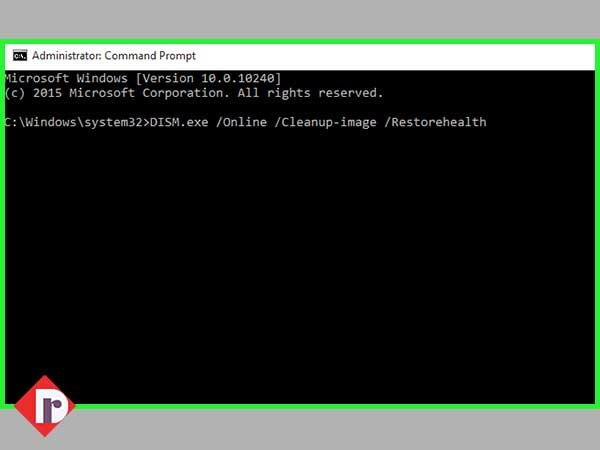
In doing so, most probably your Outlook not opening issue will be resolved.
Keep Your Windows and Outlook Up-to-Date
Last but not least, this is not an out-of-the-blue solution in fact it’s a solution that everyone recommends. Keeping your Windows O.S. and MS Office applications up-to-date helps you in many ways such as—
- Fixes unknown bugs.
- Offers new features.
- Improves the functioning & performance of the applications.
Considering that, you should also check and install your Windows and Outlook updates.
- For keeping Windows up to date, you can directly install the new update from the Microsoft website or the System Settings.
- For keeping Outlook up to date, you can launch Outlook; navigate from ‘File Tab’ and ‘Office Accounts’ to ‘Update Options.’ There, click on ‘Update Now’ for installing the latest update of the application.
Bottom Line
That’s all! With the solutions discussed above, the ‘Outlook Not Opening/Working in Windows 10’ issue would no longer bother you. However, if nothing works in your favor to make your Outlook working again then, RepairOutlook as it is the ultimate way out to all your Outlook related issues and worries.