Summary: In this Article, you’ll get to read about —
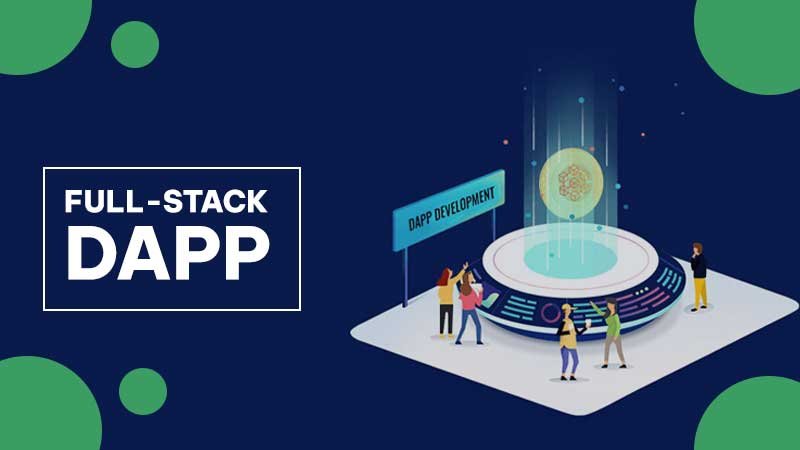
The global market for decentralized applications (Dapps) is expected to grow and aid in the mainstream adoption of cryptocurrency. Applications built on Ethereum are commonly referred to as decentralized applications (apps). Full stack dapp is a complete decentralized application built on a decentralized platform with smart contracts and used by end users.
Many people want to build decentralized applications but don’t know where to start. If you are also curious about how to make a dapp, you should look for creating a full stack dapp.
Creating a full stack dapp can be overwhelming and complicated for those new to the space. There are numerous steps, tools, and concepts that need to be understood to create a successful dapp. In this tutorial, we will walk through all the steps necessary to build a full stack dapp on Ethereum. Let’s get started.
Setting Up a Development Environment
The first step to creating a dapp is setting up a development environment. This environment will allow you to write and deploy smart contracts, develop user interfaces, and test your dapp.
Many different tools can be used to set up a development environment. Installing Hardhat, a toolkit for Ethereum development, is a good option for those new to the space. Once you have installed Hardhat, you will need to initialize a project. Make sure to select the Ethereum network you want to develop.
Create a new file called “hardhat.config.js” in the project root directory and direct it to the Ethereum network you use.
Create a Project Structure
When creating a new dapp, it is essential to have a well-organized project structure. It will make it easier to find files, deploy contracts, and test your dapp. With Hardhat, a “scripts” folder is automatically created in the project root directory. This folder will contain all the scripts needed to compile, deploy, and test contracts. The “src” folder contains all the source code for your dapp.
All smart contracts should be stored in the “contracts” folder, while all user interface files should be stored in the “app” folder. The project structure is essential for full stack dapps, as it can become difficult to find files in a complex project. Many dapp development frameworks, such as Truffle, provide a project generator to help set up the initial project structure.
Writing Smart Contracts
Now that you have set up your development environment and created a project structure, you are ready to start writing smart contracts. Smart contracts are self-executing contracts. They can be used to create tokens, track ownership, or store data. Coding smart contracts are essential to building a successful dapp.
When writing smart contracts, it is vital to keep security in mind. Smart contracts are immutable, meaning they cannot be changed once deployed to the blockchain. It makes them very secure but also means that any errors in the code cannot be fixed. It is essential to test smart contracts before deploying them to the blockchain thoroughly.
Deploying the Smart Contract
Once the smart contract is written and tested, it is ready to be deployed to the Ethereum blockchain. It can be done using Hardhat’s “deploy” command. This command will compile the contract and deploy it to the Ethereum network.
For the smart contracts to be accessible to users, they must be deployed to a public blockchain. It is crucial to remember that once a contract is deployed, it cannot be changed. After the contract is deployed, its address will be generated. This address is needed to interact with the contract.
Creating the User Interface
The user interface is what users will interact with when they use your dapp. It is vital to ensure the user interface is well-designed and user-friendly. There are many different ways to create a user interface for a dapp. One popular option is React, a JavaScript library for building user interfaces.
Once the user interface is designed, it needs to be connected to the smart contract. It can be done using Hardhat’s “connect” command. This command will connect the user interface and the smart contract. Like an ICO white paper template, the user interface should be clear and concise. It will ultimately determine whether users use your dapp or not.
Testing the Dapp
After the user interface is created, the dapp needs to be tested. It can be done using Hardhat’s “test” command. This command will run all the tests in the “tests” folder. It is essential to ensure that all the tests pass before deploying the dapp. Typically, many full-stack developers use Test Driven Development (TDD) when building dapps. It means they write tests first and then code the dapp to make the tests pass.
It is a great way to ensure your dapp is well-tested and bug-free. With a very complex dapp, manual testing can be time-consuming and difficult. In this case, a tool like Hardhat’s “debug” command is helpful. This command will allow you to step through the code and see what is happening.
Deploying the Dapp
In the final step, the dapp is ready to be deployed. It can be done using Hardhat’s “deploy” command. This command will compile the code and deploy it to the Ethereum network. The dapp will be accessible to users at the address that is generated. It is important to note that, while deploying the dapp, you must specify the network you want to deploy.
There are many different Ethereum networks, each with its purpose. The most popular network is the mainnet, which is the live Ethereum network. Other networks include testnets, which are used for testing purposes, and private networks, which are used for development purposes. A full stack dapp is now complete and ready to be used by users.